Placement Helper will allow you to make any manual changes to your classes, whilst maintaining friendships, separations and pairings. This new feature will provide you with a 'like-for-like' replacement based on academic, behavior and additional support needs, making creating great classes even easier and ensuring no matter what movements you would like to make, you'll always maintain balanced classes!
Two Minute Video Guide
Step-by-Step Guide
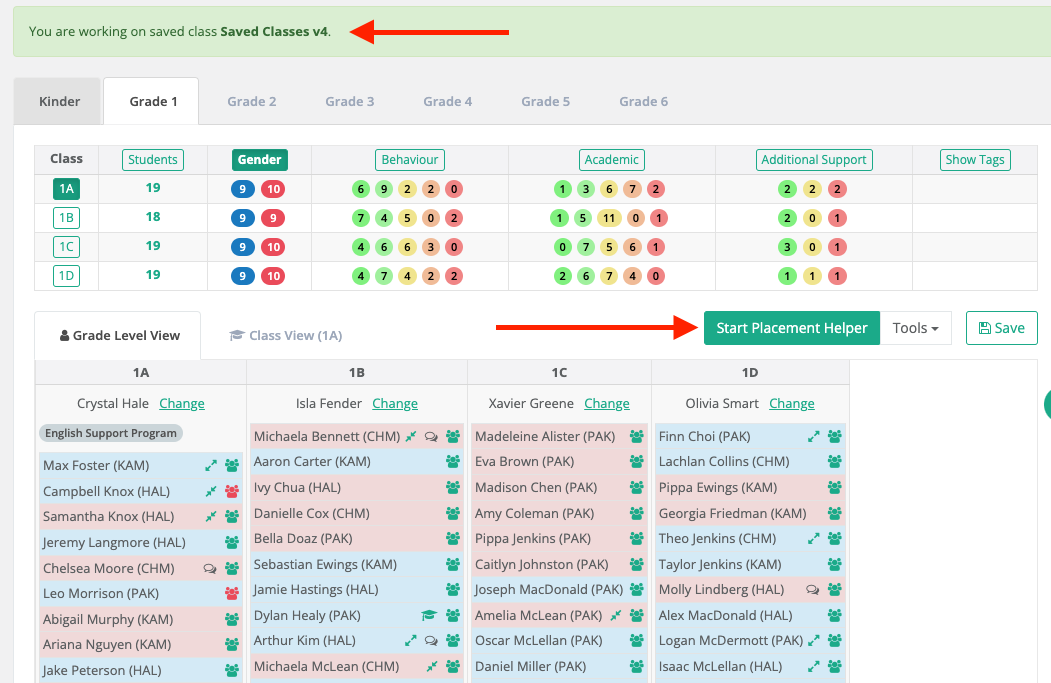
Step 1: Make sure you're working in a Saved Class.
Step 2: Click 'Start Placement Helper' button.
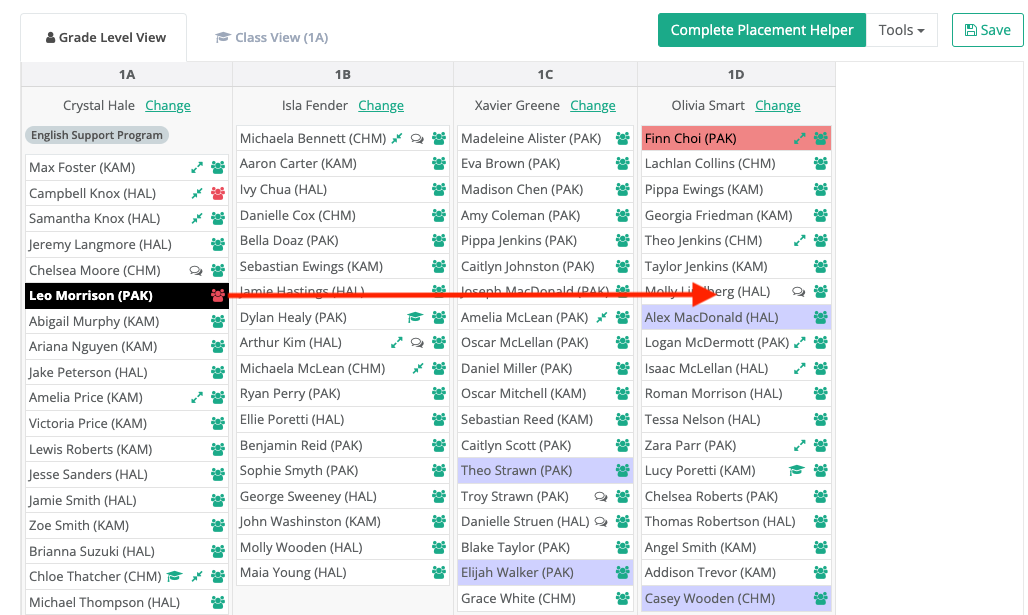
Step 3: Click on the student you would like to move, in this example, we've selected Leo Morrison and once selected, we can easily see where his friendships preferences are located across the year level (Blue), as well as any Separations (Red) and whilst Leo doesn't have any pairings, they would also appear (Green).
Step 4: Click and hold to 'Drag and Drop' the selected student to the preferred class you'd like to move them to. In this example, we will drag and drop Leo from 1A to 1D.
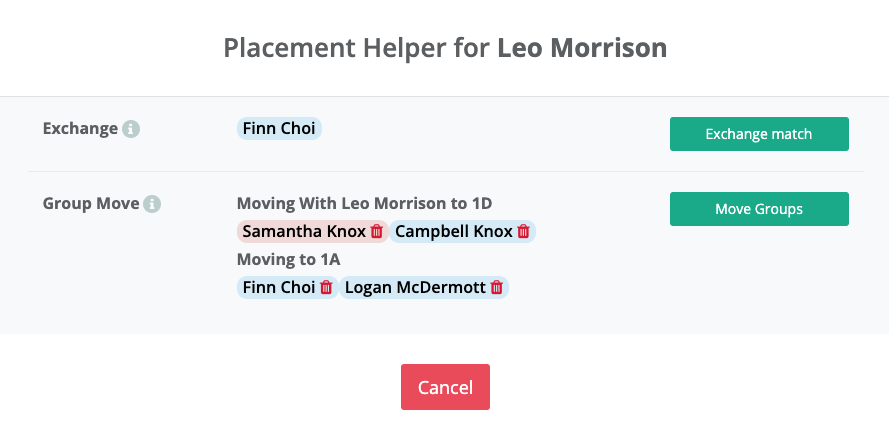
Step 5: Placement helper is activated and a pop-up will appear on your screen with two options.
Exchange: Exchange gives you the optimal like-for-like student replacement taking into account, behavior, academics, special needs, separations/pairings, friendship preferences, etc.
Group Move: Group Move has all the same benefits of Exchange, but also strives to ensure that friendship groups aren’t broken by moving multiple students from the same class together.
Selecting either 'Exchange Match' or 'Move Groups' will action the changes and move them around in their classes.
Step 6: Remember to save your changes by either 'Save as new version' if you'd like to compare classes/keep your original as a reference or choose to 'Overwrite existing version'.
If at any time you need help along the way, please don't hesitate to reach out for support, feature ideas/suggestions or just to say hi. We're always here!